Installing Zim 9 for Windows
There are three installers for Zim 9 for Windows. The following table lists the Zim components in each installer.
Click on ▶ beside each installer to jump to its corresponding installation instructions.
Note: These instructions are based on MS Windows 7 x64. Some steps may differ in different versions of Windows.
| Component | Zim 9 Full Developer ▶ | Zim 9 Client Developer ▶ | Zim 9 Client ▶ |
|---|---|---|---|
| ZimServer | ✓ | ||
| ZimExplore | ✓ | ||
| JDBC SAM | ✓ | ||
| ZimWeb | ✓ | ||
| Zim Backup Server | ✓ | ||
| Zim Runtime for Windows | ✓ | ||
| Zim Runtime License for Mobile Devices | ✓ | ||
| ZimIDE | ✓ | ✓ | |
| ZimQt Client | ✓ | ✓ | ✓ |
| JDBC Driver | ✓ | ✓ | ✓ |
| ODBC Driver | ✓ | ✓ | ✓ |
Installing Zim 9 Full Developer
1. Locate the Zim 9 Full Developer installer
The installer’s file is named according the following pattern: Zim9-Full-xxxx ( where xxxx is the build number )

2. Start the installer
If your version of Windows is 64-bits, ensure that you run the installer as administrator. This can be achieved by right-clicking on the installer and choosing Run as administrator from the drop-down menu.

3. If the User Account Control dialog pops up, click on Yes to continue the installation

4. Select the installation language (English, Espanõl, French or Português Brasileiro) from the drop-down list and click on OK


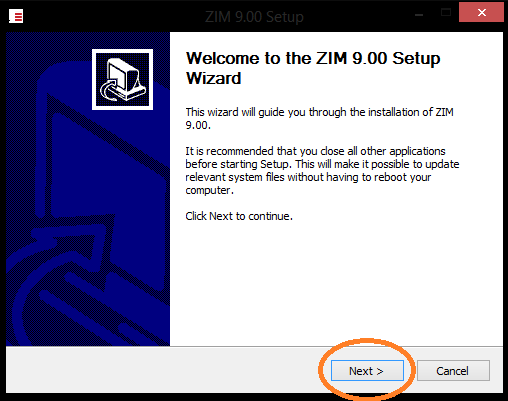
5. Click on Next > to continue the installation
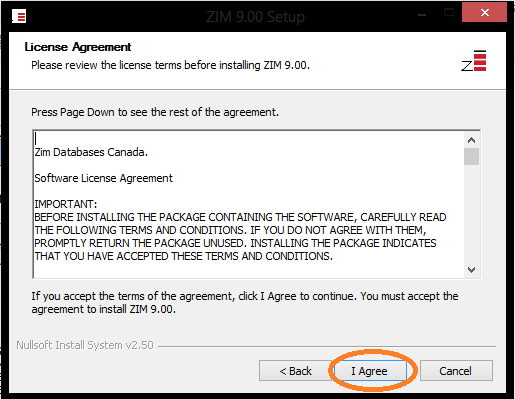
6. Read the License Agreement and click on I Agree once ready to continue
7. if Zim has been previously installed in your system, select New or Modify. Otherwise, select Re-install.

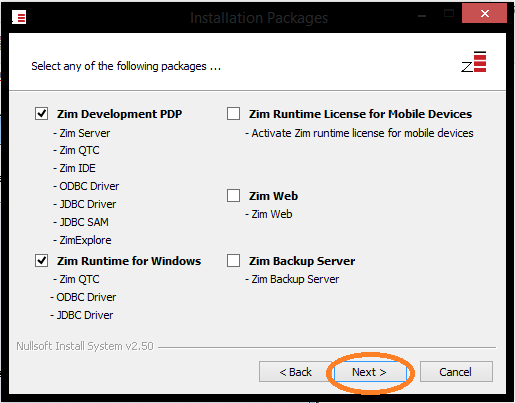
8. Select the appropriate package to install. Both the Zim Development PDP and the Zim Runtime for Windows are required for Zim application development
9. Choose the Destination Folder for the installation and click on Install
The default installation folder is C:\Program Files (x86)\ZIM\9.00\ on 64-bit English versions of Windows.

10. Enter the required activation keys for each of your products.
You activation keys can be found in the email you received when you downloaded Zim 9 Full Developer

Repeat this step for each expected activation key.
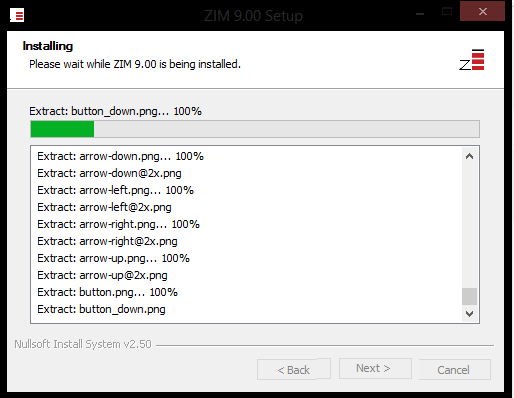
11. Click on Install > to continue the installation

12. If all files have been installed properly, click on Finish > to close the installer

✓ Zim 9 Full Developer has been installed!
Installing Zim 9 Client Developer
1. Locate the Zim 9 Client Developer installer
The installer is named according the following pattern: Zim9-Client-Dev-xxxx.exe ( where xxxx is the build number )

2. Run the installer as administrator
If installing on Windows is 64-bits, be sure to run the installer as administrator, by right-clicking on the installer and choosing Run as administrator from the drop-down list.

3. When the User Account Control dialog pops up, click on Yes to continue the installation

4. Select the installation language (English or Portugues Brasileiro) from the drop-down list and click on OK


5. Click on Next > to continue the installation

6. if Zim has been previously installed in your system, select New or Modify. Otherwise, select Re-install.

7. Choose the Destination Folder for the installation and click on Install.
The default installation folder is C:\Program Files (x86)\ZIM9 on 64-bit English versions of Windows.

8. Click on Finish to complete the installation.

10. Check the Zim installation folder and confirm the presence of following files

11. Confirm the ZimIDE and ZimQt Client shortcuts appear in All Programs > Zim > 9

✓ Zim 9 Client Developer has been installed!
Installing Zim 9 Client
1. Locate the Zim 9 Client installer
The installer is named according the following pattern: Zim9-Client-xxxx.exe ( where xxxx is the build number )

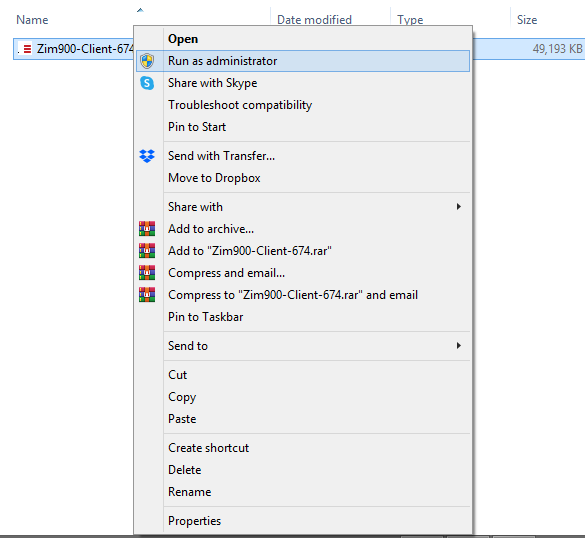
2. Run the installer as administrator
If installing on Windows is 64-bits, be sure to run the installer as administrator, by right-clicking on the installer and choosing Run as administrator from the drop-down list.
3. When the User Account Control dialog pops up, click on Yes to continue the installation

4. Select the installation language (English or Português Brasileiro) from the drop-down list and click on OK


5. Click on Next > to continue the installation

6. if Zim has been previously installed in your system, select New or Modify. Otherwise, select Re-install.

7. Choose the Destination Folder for the installation and click on Install.
The default installation folder is C:\Program Files (x86)\ZIM9 on 64-bit English versions of Windows.

8. Click on Finish to complete the installation.


10. Check the Zim installation folder and confirm the presence of following files

✓ Zim 9 Client has been installed!