Migrating from Zim 7.x to Zim 9.00
This guide details the process of migrating a database from Zim 7.1x for Windows to Zim 9.00 for Windows.
In the table below there are links (▶) to the six main phases of migration, headed by the environment where they must be performed.
| In Zim 7.1x | On Windows | In Zim 9.00 |
|---|---|---|
| ▶ a) Prepare Original Zim 7.1x Database | ▶ c) Install Zim 9.00 | ▶ d) Create Destination Zim 9.00 Database |
| ▶ b) Export Original Zim 7.1x Database | ▶ e) Change Configuration Files in Zim 9.00 | |
| ▶ f) Import Original Zim 7.1x Database |
a) Prepare Original Zim 7.1x Database
1. Backup the original Zim 7.1x database
The migration process does not affect the integrity of the original database.
However, it is always a good practice to back up the data to a safe location, such as a DVD or a network folder.
2. Start a single-user Zim 7.1x session in the original database
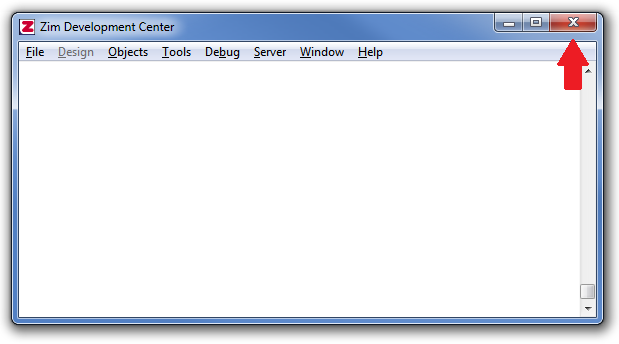
3. Close the Zim Development Center window after if it pops up
4. Check whether the document zomoutputdoc is available. If so, skip to step 6
> list 1 docs where docname=”zomoutputdoc”
This document will contain the report generated by the zomdiagnose command in step 6.
5. Create the document zomoutputdoc using the following commands
> aft docs
> zomoutputdoc zomoutputdoc.txt
> create doc zomoutputdoc
Or
> add docs let docname=”zomoutputdoc” filename=”zomoutputdoc.txt” dirname=”ZIM”
> create doc zomoutputdoc
6. Generate a diagnostic report of the original database
> zomenable
> zomdiagnose ;d zomoutputdoc ;b
The zomdiagnose tool will produce a report of warnings and error messages grouped under several headers.
The following headers are important:
*** Objects that are not created
…
*** Objects that are corrupt and need recreation
…
*** Objects named after a reserved word
…
Warning
If there are any messages listed under any of these headers, the reported problems must be solved before the migration process can continue.
7. Ensure all ZOM database objects are properly registered. Click OK in the dialogue box to start the process
> zomreset *
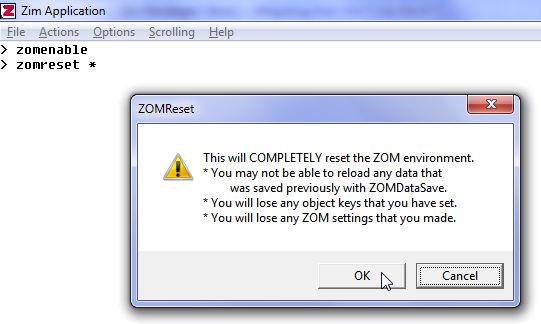
While zomreset is executing, it will report each registered database object:
> Touching Object: <name>, <number> to go
When zomreset finishes, it will display the following message:
…
> ZOM Activity: Done
…
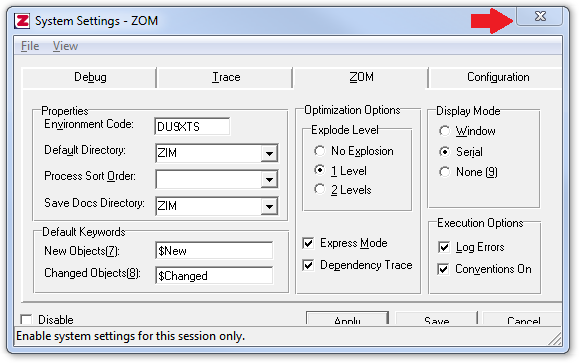
8. Close the System Settings – ZOM window after if it pops up
✓ The Zim 7.1x database is now ready to be exported
b) Export Original Zim 7.1x Database
This procedure exports the definitions in the Data Dictionary to text files and optionally exports existing data into ASCII files.
1. If necessary, start a single-user Zim 7.1x session in the original database directory or skip to step 2
2. Continue on the same Zim 7.x session and check whether it is necessary to create a document called zim8cnv1
> list 1 docs where docname=”zim8cnv1″
If the document exists, skip ahead to step 5.
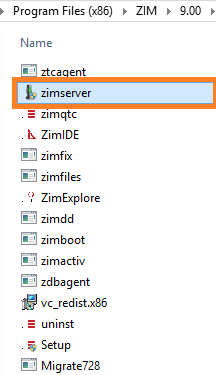
3. Copy the file zim8cnv1.cmd from the Zim 9.00 installation path to the original Zim 7.x database path
4. Create a document corresponding to the zim8cnv1.cmd file
> aft docs
> zim8cnv1 zim8cnv1.cmd
> create doc zim8cnv1
Or
> add docs let docname=”zim8cnv1″ filename=”zim8cnv1.cmd” dirname=”ZIM”
> create doc zim8cnv1
5. Locate the file config.db in the Zim 7.x database directory. Create it if necessary
6. In config.db, add or update the following configuration options:
> parameter size 32000
> directories <number of Zim directories of your application + 10>
> files 100
Warning
It is necessary to add 10 to the number of directories in the Zim 7.x application to account for internal directories.
7. Exit and restart the Zim 7.x session if there were any changes made to config.db
8. Close the Zim Development Center window after if it pops up
9. From the Zim 7.x session prompt, run zim8cnv1
> zim8cnv1
zim8cnv1 will add all object definitions to the \port directory in the original database path
It will also ask whether to export the data in the original Zim 7.x database to ASCII files:
Do you want to download all your data into ASCII documents? (y/n)
If you choose to export the data, you can skip phase f – step 7.
However, there is no need to export the data, since the destination database will also be in the same Windows format.
Warning
1. Exporting the data is required when migrating the database from Windows to Linux or vice-versa.
2. The script only exports the object definitions in the database, but does not copy files such as dirs.zim and areas.zim.
3. It is the administrator’s responsibility to ensure the accuracy of these files and to copy them to the appropriated places.
10. Write down the values of maximum tables and directories reported after the migration program terminates
These values will be used in phase e – step 3
11. Exit the Zim 7.x session
✓ The Zim 7.1x database is now exported. It is now time to move over to the Zim 8.50 destination database.
c) Install Zim 9.00 for Windows
1. Install Zim 9.00 for Windows following the steps described in Installing Zim 9.00 Full Developer.
✓ The Zim 9.00 destination database can now be created in the next phase
d) Create Destination Zim 9.00 Database
In this example for Windows, we will:
- Create a database called MigraDB in C:\ZimDBs\MigraDB
- Copy all the files generated in the \port directory of the original Zim 7.x database
- Move all files to C:\ZimDBs\MigraDB\port in the destination Zim 9.00 database
Double-click on the Start ZimServer using any of these options:
| Desktop | Taskbar | Start Menu |
|---|---|---|
 |
 |
 |
2. In x64 versions of Windows, you need to confirm the admin priviledges through the User Account Control dialog and allow ZimServer to start or stop.
3. Start ZimExplore.
Double-click on the Start ZimExplore using any of these options:
| Desktop | Taskbar | Start Menu |
|---|---|---|
 |
 |
 |
4. Right-click on Zim Servers
5. Click on Add Server…
6. Enter the
The default ZimServer is localhost and the default Port Number is 6002.
7. Click OK to continue
8. Click on [ + ] to expand the selected ZimServer. Click once again on [ + ] to expand the Databases list
9. Right-click on Databases and click on Create Database… to open the database creation dialog
10. Add the Database name, Database path, and Database IDand click Create
In this example:
Database name: MigraDB,
Database path: C:\ZimDBs\MigraDB, and
Database ID: 10.
Warning
1. There must be no other database with the same Database ID in the list.
2. The rightmost folder in the Database path (e.g., MigraDB in C:\ZimDBs) must not exist – This folder will be created automatically by ZimExplore.
✓ The destination database has been created. The final phase in migration are changing configuration files and importing the original database into the destnation database.
e) Change Configuration Files in Zim 9.00
1. Stop ZimServer if it is running
On Windows 7 and higher, you can double-click on Stop ZimServer using any of these shortcuts:
| Desktop | Taskbar | Start Menu |
|---|---|---|
 |
 |
 |
2. In x64 versions of Windows, you need to confirm the admin priviledges through the User Account Control dialog and allow ZimServer to start or stop.

In phase b – step 10, zim8cnv1 reported that the values of maximum tables and directories may need to be changed in the Zim 8.50 configuration files:
As summarized in the table below, use the indicated parameter and values to:
a. Modify zimconfig.srv in the Zim 9.00 installation path
Locate the maximum tables parameter and edit the value.
b. Create zimconfig.zim in the destination path
Add the directories parameter and the value.
| File | zimconfig.srv | zimconfig.zim |
| Action | modify | create |
| Location | installation path | destination database path |
| Parameter | maximum tables |
directories |
| Value | max of 400, existing value or reported value |
max of 10 or reported value |
✓ The destination database is now created, configured and ready to receive the object definitions from the original database
f) Import Original Zim 7.1x Database
Warning
The following script must be executed on a newly created Zim 9.00 database (see phase d) and should never be executed twice over the same database.
Double-click on the Start ZimServer using any of these options:
| Desktop | Taskbar | Start Menu |
|---|---|---|
|
|
|
2. In x64 versions of Windows, you need to confirm the admin priviledges through the User Account Control dialog and allow ZimServer to start or stop.
3. Start ZimQt Client and create a connection to the destination database
On Windows 7 and higher, you can double-click on ZimQt Client using any of these shortcuts:
| Desktop | Taskbar | Start Menu |
|---|---|---|
 |
 |
 |
a. Click on ( + ) to add a new database to the connection list
b. Add the database name in DATABASE and leave COMMAND empty
You may leave HOSTNAME as localhost if the database is located on the same machine as ZimQt Client. If so, continue in step d
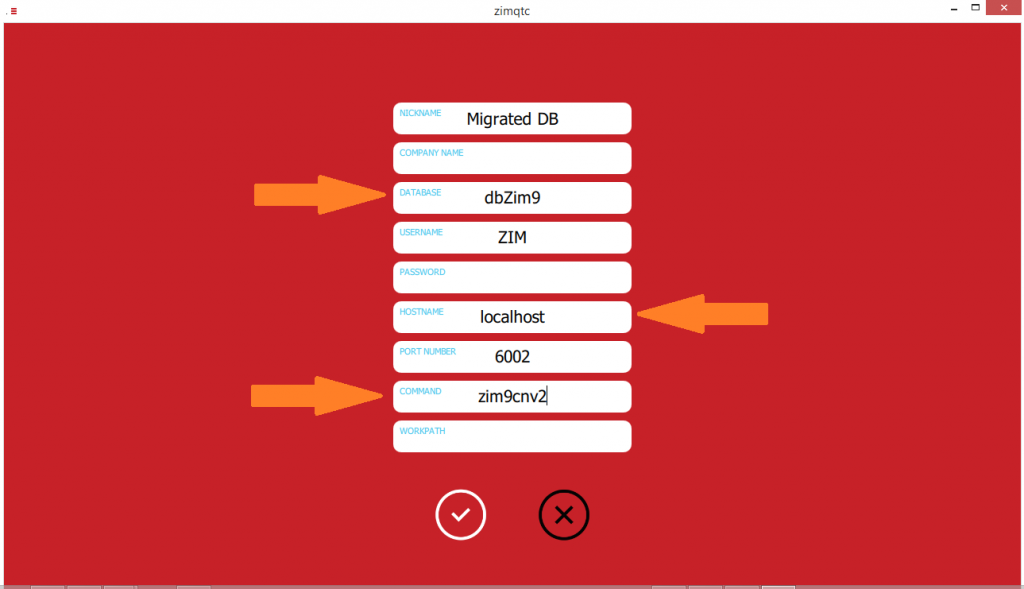
c. Change the HOSTNAME to the IP address of the machine where the database was created
d. Click on the check mark (✓) to accept all changes
e. Click on shortcut to initiate a connection to the destination database

4. Run the database importer script (zim8cnv2) in ZimQt Client
a. Finalize the database creation
> zomenable
This completes the creation of all object strucutures in the Data Dictionary acording to the latest version of ZOM.
b. Keep file numbers after migration
let <UseExistingFileNum>=$true
Important: This guarantees that all user-created data-base objects, such as entity sets and relationships, are created using the same zim01xx files in the destination as in the original database.
c. Run Import Script
> zim8cnv2
This script creates database objects based on the definitions stored in /port in the destination database path.
d. Wait until the script terminates
5. Stop ZimServer
ZimServer should not be running while data files are being imported.
On Windows 7 and higher, you can double-click on Stop ZimServer using any of these shortcuts:
| Desktop | Taskbar | Start Menu |
|---|---|---|
|
|
|
6. In x64 versions of Windows, you need to confirm the admin priviledges through the User Account Control dialog and allow ZimServer to start or stop.
Warning
1. In phase b – step 9, if you chose not to export the data from the original Zim 7.x database path, you have to copy the physical data files to the destination Zim 9.00 database path.
2. The internal structure of logical directories and physical directory files inZim 9.00 changed from the previous versions of Zim.
7. Import the user-created data files from the original database path
a. In the Zim 7.x database path, select data files named zim01xx and higher
b. DO NOT select files with a corresponding zim01xx.ws operating system directory
For example, do not select zim0123 if there is a operating system directory called zim0123.ws.
r
c. Copy all selection files and paste them in the destination Zim 9.00 database path.
8. If there are any special files in the original Zim 7.x database, such as programs, documents, and images, they must be manually copied into the destination Zim 9.00 database path
9. Start ZimServer and use ZimQt to connect to the new Zim 9.00 database
a. Start ZimServer as described in phase f – step 1
b. Start ZimQt Client as described in phase f – step 3
10. Test all you applications to ensure they are working as before the migration
✓You have finished the migration process. You are now ready to run you migrated database applications on ZimQt while connected to the new Zim 9.00 ZimServer